 OEM/ODM
Private Mold Gaming Headset Development: Full Process from Idea to Mass Production
There's a moment every brand owner dreams about. You're holding a gaming headset that nobody else in the world has. The design is yours. The features are yours. The shape, the color, the feel—every detail was decided by you. Competitors can look at it, but they can't copy it, because you own the mold.
That moment is the payoff of private mold development. But getting there isn't easy. Private mold (also called ODM or custom tooling) is the most complex, expensive, and time-consuming way to source a product. It involves industrial design, structural engineering, prototyping, mold fabrication, acoustic tuning, and multiple rounds of testing and revision. One mistake at any stage can add weeks to the timeline and thousands of dollars to the cost.
After eleven years of manufacturing gaming headsets and completing over 200 private mold projects, I've seen every mistake, every delay, and every success. This guide walks through the entire process from concept to mass production, with realistic timelines, actual costs, and the pitfalls that derail more projects than anything else.
Is Private Mold Right for You?
Before we dive into the process, let's talk about whether private mold is the right choice for your business. It's not for everyone, and choosing it at the wrong stage can be a costly mistake.
Private mold makes sense if:
- You're selling 3,000+ units per month of a similar product and want to differentiate
- Competitors are copying your OEM-customized product and undercutting your price
- You have a clear vision for a product that doesn't currently exist in the market
- You have $15,000-$30,000 available for tooling and initial inventory
- You have the team or partner to manage a 45-75 day development project
- You're building a brand, not just selling products
Private mold does NOT make sense if:
- You've never sold a gaming headset before (start with in-stock models)
- You're selling fewer than 1,000 units per month (the tooling cost per unit is too high)
- You don't have a clear product vision ("I want something cool" isn't a design brief)
- You need the product in less than 45 days (private mold takes 45-75 days minimum)
- You're not prepared to make decisions quickly (delays in decision-making are the #1 cause of project delays)
If you're on the fence, here's a simple test: take your current best-selling headset, imagine it with a completely unique design that no competitor can copy, and ask yourself whether that uniqueness would justify a $2-3 higher per-unit cost (the amortized tooling cost over 5,000 units). If yes, private mold is worth pursuing. If no, stick with OEM customization of existing models.
The Six Stages of Private Mold Development
Every private mold project goes through six stages. Some factories combine stages or use different terminology, but the work is the same. Here's what happens at each stage, how long it takes, and what you need to do.
Stage 1: Concept and Industrial Design (Days 1-10)
This is where the product is born. You start with an idea and end with a photorealistic 3D rendering that shows exactly what the product will look like.
What happens:
- Requirements definition (Days 1-2): You and the factory's product manager define the product specifications: target price point, key features (wired/2.4G/Bluetooth, ANC/ENC, RGB, 7.1 surround), target market, and competitive positioning. This becomes the product requirements document (PRD).
- Market research and benchmarking (Days 2-4): The design team studies competing products, analyzes design trends, and identifies design opportunities. They might buy 3-5 competing headsets, take them apart, and analyze their construction.
- ID sketching (Days 4-6): The industrial designer creates 5-10 hand-drawn sketches exploring different design directions. These are rough concepts showing the overall shape, proportions, and key design elements.
- Concept selection (Day 6-7): You review the sketches and select 2-3 directions to develop further. This is your first major decision point.
- 3D rendering (Days 7-10): The designer creates detailed 3D renderings of the selected concepts using CAD software (usually Rhino, SolidWorks, or Creo). These renderings show the product from multiple angles, with materials, colors, and lighting applied. They should look like professional product photos.
- Final concept approval (Day 10): You review the 3D renderings and select the final design. This is your second major decision point. Once you approve the design, it moves to structural engineering.
What you need to do:
- Provide a clear product brief with target price, features, and market
- Review sketches and renderings promptly (delays at this stage cascade through the entire project)
- Make decisions based on the product brief, not personal preference ("I like blue" isn't a design strategy)
- Ask for 2-3 design directions, not 10 (too many options leads to decision paralysis)
Cost: $500-$2,000 for industrial design (some factories include this in the overall development cost if you proceed to tooling)
Common pitfall: Endless design revisions. I've seen projects spend 30+ days on industrial design because the buyer keeps asking for "just one more tweak." Set a limit—3 rounds of revisions maximum—and stick to it. The perfect is the enemy of the good in product development.
Stage 2: Structural Engineering and DFM (Days 10-20)
Industrial design makes the product look good. Structural engineering makes it actually work. This stage is where the beautiful rendering becomes a manufacturable product.
What happens:
- 3D modeling (Days 10-14): The structural engineer creates a detailed 3D model of every component: the shell halves, the headband, the ear cup housings, the microphone boom, the button caps, the internal brackets. Each part is modeled with exact dimensions, wall thicknesses, draft angles, and assembly features.
- Internal layout design (Days 12-16): The engineer designs the internal layout: PCB placement, speaker driver mounting, battery compartment (for wireless models), microphone positioning, cable routing, and screw locations. This is critical for audio performance—a poorly placed speaker driver or a vibrating internal component can ruin the sound quality.
- DFM review (Days 16-18): DFM stands for Design for Manufacturing. The engineer reviews every part for manufacturability:
- Are the wall thicknesses consistent? (Thick areas cause sink marks; thin areas are weak)
- Are there proper draft angles for mold release? (Parts without draft will stick in the mold)
- Are the undercuts designed with slides or lifters? (Undercuts that can't be molded add cost and complexity)
- Are the assembly features (screw posts, snap fits, alignment pins) properly designed?
- Is the part size appropriate for the injection molding machine?
- DFM report and revisions (Days 18-20): The engineer produces a DFM report identifying potential manufacturing issues and recommending design changes. You review the report and approve the changes. Common DFM changes include adding draft angles, thickening thin walls, removing undercuts, and adjusting screw post dimensions.
What you need to do:
- Review the DFM report and ask questions if you don't understand something
- Trust the engineer's recommendations on manufacturability (they've done this hundreds of times; you haven't)
- Understand that DFM changes may slightly alter the appearance from the original rendering (this is normal and necessary)
- Approve the final 3D model for mold fabrication (this is your third major decision point—after this, design changes become expensive)
Cost: Included in the mold development cost (or $1,000-$3,000 if billed separately)
Common pitfall: Skipping the DFM review. Some buyers see the beautiful rendering and say "yes, make it" without reviewing the structural design. Then, when the mold is cut and the first parts come out with sink marks, weak snap fits, or assembly problems, they're surprised. The DFM review is your last chance to catch these problems before they become expensive mold modifications.
Stage 3: Prototype (Days 20-30)
Before cutting the mold (which is expensive and difficult to modify), you make a prototype to verify the design. The prototype lets you see, touch, and test the product before committing to tooling.
What happens:
- 3D printed prototype (Days 20-24): The 3D model is 3D printed using SLA (stereolithography) or SLS (selective laser sintering) technology. SLA produces high-resolution parts with smooth surfaces (good for appearance verification). SLS produces durable nylon parts (good for functional testing). The prototype is assembled by hand, with real electronic components (speaker driver, PCB, microphone) installed.
- CNC machined prototype (optional, Days 22-26): For products with critical structural components (like the headband adjustment mechanism), a CNC machined prototype might be made from solid plastic or aluminum. CNC prototypes are more durable and dimensionally accurate than 3D printed parts, but more expensive.
- Prototype testing (Days 24-28): The prototype is tested for:
- Appearance: Does it look like the rendering? Are the proportions right?
- Ergonomics: Is it comfortable to wear? Does the headband adjust properly? Do the ear cups fit over the ears?
- Functionality: Do the buttons work? Does the microphone position correctly? Does the cable plug in securely?
- Audio: Does it sound acceptable? (The prototype won't have the final acoustic tuning, but major issues like rattling or muffled sound should be caught)
- Assembly: Can it be assembled and disassembled without damage? Are the screw locations accessible?
- Prototype review and design revisions (Days 28-30): You review the prototype and provide feedback. If changes are needed, the 3D model is updated and a second prototype might be made (adding 5-7 days). If the prototype is approved, the project moves to mold fabrication.
What you need to do:
- Actually wear the prototype for at least 30 minutes (comfort issues that aren't obvious in a 2-minute try-on will become clear)
- Test every function: press every button, adjust every mechanism, plug and unplug the cable multiple times
- Listen to audio at different volume levels and with different music types
- Be specific about what you want changed ("the headband is too tight" is useful; "it doesn't feel right" isn't)
- Understand that prototype changes are cheap; mold changes are expensive. If you're unsure about something, change it now, not after the mold is cut.
Cost: $200-$800 for a 3D printed prototype; $500-$2,000 for a CNC machined prototype
Common pitfall: Approving the prototype without actually testing it. I've seen buyers look at a prototype, say "looks great," and approve it—without wearing it, without testing the buttons, without listening to the audio. Then, when the first production units come out and the headband is too tight or a button doesn't work, they're surprised. The prototype is your last chance to catch these issues cheaply. Use it.
Stage 4: Mold Fabrication (Days 30-50)
This is the most expensive and least flexible stage. Once the mold is cut, design changes become costly and time-consuming. But it's also the stage where the product becomes real.
What happens:
- Mold design (Days 30-33): The mold designer creates a detailed 3D model of the injection mold: the cavity and core (the two halves that form the part), the runner system (how plastic flows into the cavity), the cooling channels (how the mold is cooled between cycles), the ejection system (how the part is removed from the mold), and any slides or lifters (for undercuts).
- Mold material selection (Day 33): The mold is made from tool steel. The grade of steel depends on the expected production volume:
- P20 steel: For low-volume production (10,000-100,000 shots). Softer, easier to machine, less expensive.
- H13 steel: For medium-volume production (100,000-500,000 shots). Harder, more durable, more expensive.
- S136 stainless steel: For high-volume production (500,000+ shots) or for parts with high surface finish requirements. Hardest, most durable, most expensive. For gaming headsets, P20 or H13 is typical. The mold for a headset shell might cost $3,000-$8,000 depending on size, complexity, and steel grade.
- CNC machining (Days 33-40): The mold blocks are machined using CNC milling machines. The cavity and core are cut to exact dimensions with surface finishes as smooth as a mirror (for plastic parts with high gloss finish). This is the most time-consuming part of mold fabrication—complex molds can take 5-7 days of continuous CNC machining.
- EDM (Electrical Discharge Machining) (Days 38-42): For features that can't be machined with CNC (deep ribs, sharp corners, textured surfaces), EDM is used. EDM uses electrical sparks to erode the steel, creating precise features that would be impossible with cutting tools.
- Mold assembly (Days 42-45): The machined mold components are assembled: cavity and core are fitted into the mold base, cooling channels are connected, ejection pins are installed, slides and lifters are assembled. The mold is then installed in an injection molding machine for testing.
- T0 trial (First Shot) (Days 45-47): The first plastic parts are injected from the new mold. This is called the T0 (T-zero) trial. The T0 parts are almost always defective—they might have flash (excess plastic at the parting line), sink marks (depressions on the surface), weld lines (visible lines where plastic flows meet), short shots (incomplete filling), or dimensional issues. This is normal and expected.
- T0 review and mold modifications (Days 47-50): The T0 parts are reviewed by the engineering team. They identify the defects and determine the mold modifications needed: polishing a rough surface, adding a vent to prevent short shots, adjusting a cooling channel to prevent sink marks, modifying a dimension to fix assembly issues. The mold is then modified (usually by polishing, welding, or re-machining) and prepared for the T1 trial.
What you need to do:
- Review the T0 parts and provide feedback (but trust the engineering team's assessment of what needs to be fixed—T0 parts are supposed to have issues)
- Understand that mold modifications take time and money. Each round of modifications adds 3-7 days and $500-$2,000.
- If you want a design change at this stage, be prepared to pay for it. A simple change (like adding a logo recess) might cost $500-$1,000. A complex change (like changing the shape of the ear cup) might cost $2,000-$5,000 and add 7-10 days.
Cost: $3,000-$15,000 for the mold (depending on complexity, number of cavities, and steel grade). A typical gaming headset requires 4-8 molds (left shell, right shell, headband, microphone boom, button caps, etc.), so total mold cost is typically $8,000-$25,000.
Common pitfall: Requesting design changes after the mold is cut. I've seen buyers receive T0 parts, decide they want to change the shape of the headband, and then be shocked when the factory quotes $3,000 and 10 days for the change. The design was approved at the prototype stage. Once the mold is cut, changes are no longer design changes—they're mold modifications, and they're expensive. If you're going to change the design, do it before the mold is cut.
Stage 5: T1/T2 Sample Confirmation and Tuning (Days 50-60)
After the T0 modifications, the mold is ready for the T1 trial. The T1 parts should be much better than T0—most major defects should be fixed. This stage is about fine-tuning the product to perfection.
What happens:
- T1 trial (Days 50-52): The modified mold is tested again. The T1 parts are inspected for appearance, dimensions, and assembly. If major issues remain, another round of modifications is needed (T1.5), adding 3-5 days.
- Functional testing (Days 52-55): The T1 samples are assembled with real electronic components and tested:
- Audio testing: Frequency response, distortion, sound pressure level (SPL), channel balance
- Microphone testing: Sensitivity, frequency response, noise cancellation performance
- Electrical testing: Power consumption, button function, indicator LED function
- Reliability testing: Cable pull test, headband fatigue test (repeated bending), button life test (repeated pressing), drop test
- Acoustic tuning (Days 53-57): This is where the product goes from "functional" to "good." The acoustic engineer tunes the speaker driver by adjusting the damping material, the venting, the equalization (if there's a DSP), and the enclosure volume. The goal is to achieve the target sound signature—whether that's bass-heavy for gaming, balanced for music, or clear voice for communication. This is an iterative process that requires specialized equipment (an artificial ear, a spectrum analyzer, an anechoic chamber or quiet room) and an experienced acoustic engineer.
- T2 trial (if needed) (Days 57-59): If the T1 samples require further mold modifications or acoustic tuning adjustments, a T2 trial is conducted. By T2, the parts should be production-ready.
- Final sample approval (Day 59-60): You receive the final samples (usually 3-5 units) and approve them for mass production. This is your final decision point. Once you approve, the factory begins mass production.
What you need to do:
- Test the final samples thoroughly. Wear them for hours. Listen to your favorite music. Play your favorite games. Make calls with the microphone.
- Compare the samples to your competitors' products. Is the quality at least as good? Is the sound quality competitive?
- If something isn't right, say so now. Once mass production starts, changes become much more expensive.
- Keep one approved sample as the "golden sample" for future quality comparison.
Cost: Included in the development cost. Additional testing (like third-party certification testing) might cost $1,000-$3,000.
Common pitfall: Approving samples without testing them in real-world conditions. I've seen buyers test a sample at their desk for 5 minutes, approve it, and then discover after mass production that the headset gets uncomfortable after 2 hours of gaming, or that the microphone picks up keyboard noise, or that the RGB lighting is too bright in a dark room. Test the samples the way your customers will use them—for hours, in different environments, with different devices.
Stage 6: Mass Production (Days 60-75+)
The final stage is mass production. The product is finalized, the mold is tuned, and the factory begins producing your order.
What happens:
- Production planning (Days 60-61): The production manager schedules your order on the production line, orders materials, and prepares the work instructions and quality standards.
- Material procurement (Days 61-65): Components are ordered from suppliers: speaker drivers, PCBs, microphones, batteries, plastic resin, packaging materials. For a private mold product, the plastic parts are injection molded in-house using your mold.
- First article inspection (Day 66): The first 5-10 units off the production line are fully inspected and compared to the golden sample. This verifies that the production line is set up correctly and producing units that meet the approved standard.
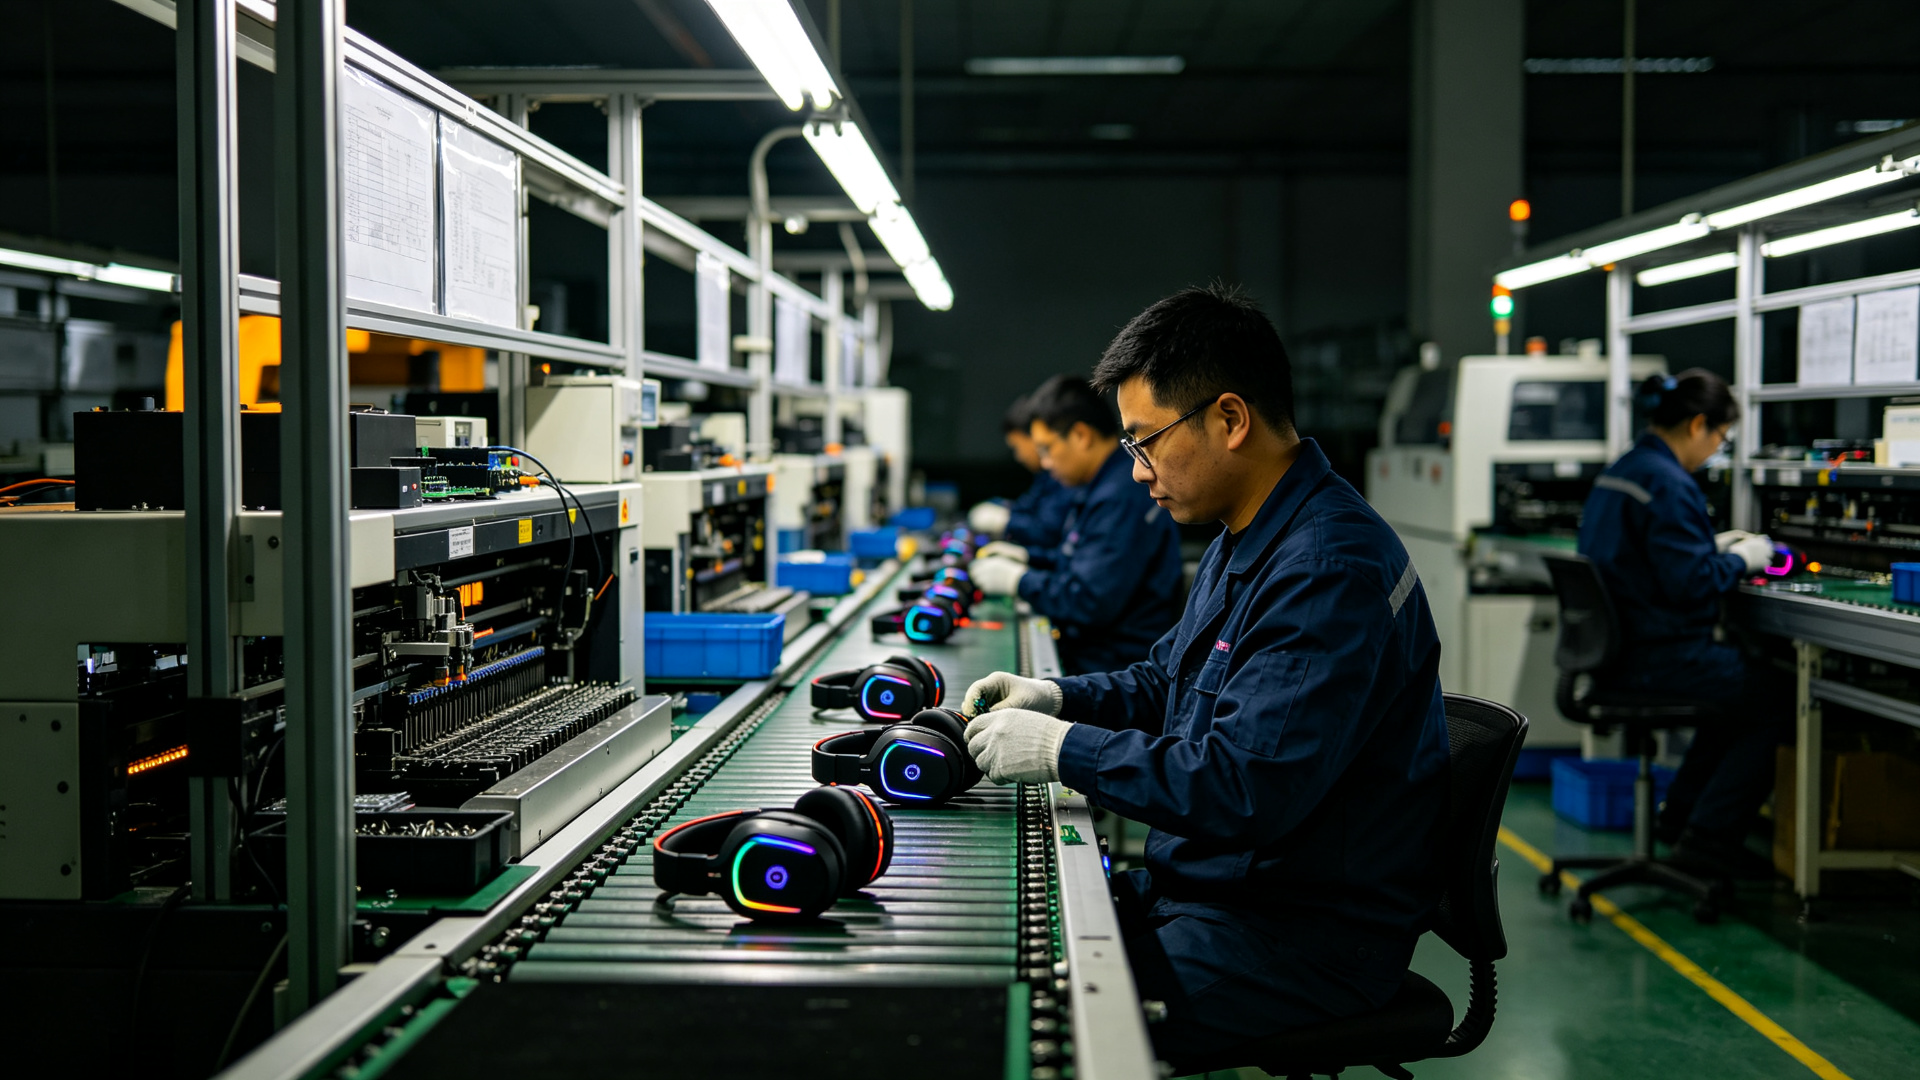
- Mass production (Days 66-72): The production line runs at full capacity. For a 5,000-unit order, this might take 5-7 days on a single line. QC inspectors check units at every stage: incoming materials, in-process assembly, final testing, and packaging.
- Final inspection and packaging (Days 72-74): Finished units go through final audio testing, cosmetic inspection, and packaging. Units are packed into retail boxes, then into master cartons.
- Shipping (Day 75): The finished goods are ready for shipment. You arrange shipping (or the factory arranges it, depending on your agreement).
What you need to do:
- Consider hiring a third-party inspection company to conduct a pre-shipment inspection (PSI). For $200-$400, an inspector will visit the factory, randomly sample 10-20% of the units, and check them against your specifications. This is cheap insurance against quality issues.
- Provide shipping instructions promptly (delays in arranging shipping delay your revenue)
- Plan for the first production run to have a slightly higher defect rate (2-5% is normal for the first run; subsequent runs should be below 2%)
Cost: The per-unit production cost (typically $8-$20 for a mid-range private mold gaming headset), plus packaging, plus shipping.
Common pitfall: Skipping pre-shipment inspection to save $300. I've seen buyers receive shipments where 15% of the units were defective because the factory had a bad production run and didn't catch it. A $300 inspection would have caught the issue before shipping, saving the buyer thousands of dollars in returns and lost reputation.
Timeline Summary
Here's what a typical private mold gaming headset project looks like from start to finish:
| Stage | Duration | Cumulative Days |
|---|---|---|
| Concept and Industrial Design | 10 days | Day 10 |
| Structural Engineering and DFM | 10 days | Day 20 |
| Prototype | 10 days | Day 30 |
| Mold Fabrication | 20 days | Day 50 |
| T1/T2 Sample Confirmation and Tuning | 10 days | Day 60 |
| Mass Production (5,000 units) | 15 days | Day 75 |
Total: 75 days from concept to shipping
This is a realistic timeline for a well-managed project with prompt decision-making. Projects with multiple design revisions, complex features, or slow decision-making can take 90-120 days.
At MONTON Cloud, we've completed private mold projects in as few as 45 days for a German esports brand—but that required the client to make every decision within 24 hours and our team to run engineering tracks in parallel. Most projects take 60-75 days.
Cost Summary
Here's what a typical private mold gaming headset project costs:
| Cost Item | Low End | High End |
|---|---|---|
| Industrial Design | $500 | $2,000 |
| Structural Engineering | Included | $3,000 |
| Prototype (3D printed) | $200 | $800 |
| Mold Fabrication (4-8 molds) | $8,000 | $25,000 |
| T1/T2 Testing and Tuning | Included | $2,000 |
| Certification Testing (if needed) | $1,000 | $5,000 |
| Total Development Cost | $9,700 | $37,800 |
| Mass Production (per unit, 5,000 units) | $8 | $20 |
| Total for 5,000 units | $49,700 | $137,800 |
The development cost is a one-time investment. Once the mold is paid for, it's yours, and you can reorder as many times as you want without paying tooling again. The per-unit cost for reorders is just the production cost ($8-$20 per unit).
Here's the math on when private mold makes financial sense: if the tooling cost is $15,000 and the private mold product saves you $3 per unit compared to an OEM product (because you're not paying for the factory's brand markup, or because you can sell at a higher price due to differentiation), you break even at 5,000 units. After that, every unit you sell is $3 more profitable than the OEM alternative. If you're selling 1,000 units per month, you break even in 5 months. If you're selling 5,000 units per month, you break even in 1 month.
The Five Most Common Private Mold Mistakes
After 200+ projects, these are the mistakes that cause the most delays, cost overruns, and product failures:
Mistake 1: Starting Without a Clear Product Brief
"We want a premium gaming headset" is not a product brief. A good product brief specifies: target retail price ($49.99), key features (2.4G wireless, ENC microphone, RGB, 30-hour battery), target market (US Amazon), target customer (18-30 year old casual gamers), and competitive positioning (better audio than HyperX Cloud Stinger at the same price).
Without a clear brief, the design team guesses at what you want, you're unhappy with the results, and you waste weeks going back and forth. Spend 2 hours writing a detailed brief before you start, and you'll save 2 weeks of design time.
Mistake 2: Changing the Design After the Mold Is Cut
This is the most expensive mistake. A design change that would have cost $0 at the prototype stage costs $500-$5,000 after the mold is cut, and adds 3-10 days to the timeline. If you're unsure about a design element, change it at the prototype stage. Once the mold is cut, assume that every change will be expensive and slow.
Mistake 3: Underestimating the Acoustic Tuning Importance
Two headsets with the same speaker driver can sound completely different depending on the acoustic tuning. A good acoustic engineer can make a $2 driver sound like a $10 driver; a bad one can make a $10 driver sound like a $2 driver. If sound quality is important to your product, make sure the factory has an in-house acoustic lab and an experienced acoustic engineer. Ask to hear samples of their previous acoustic tuning work before you commit.
Mistake 4: Not Planning for Certification
If you're selling a wireless headset in the US or EU, you need FCC/CE certification for the radio module. If the factory is using a pre-certified Bluetooth module, you might be able to use their certification. But if you're using a custom 2.4G module or a new Bluetooth chip, you'll need to certify it yourself, which costs $2,000-$5,000 and adds 4-6 weeks. Discuss certification with the factory at the beginning of the project, not after the product is designed.
Mistake 5: Not Owning the Mold
This is a contractual issue, not a technical one, but it's critical. Make sure your contract explicitly states that you own the mold and that the factory cannot use it to produce products for any other customer. Some factories will try to retain mold ownership and then use your design for other buyers—essentially selling your custom product to your competitors. If you paid for the mold, you own it. Get it in writing.
Final Thoughts
Private mold development is not for the faint of heart. It's complex, expensive, and time-consuming. There are a hundred ways to mess it up, and even well-managed projects encounter unexpected issues. But when it works—when you hold a product that's uniquely yours, that no competitor can copy, that sounds and feels exactly the way you wanted—it's worth every dollar and every day.
The key to success is three things: work with a factory that has real private mold experience (not just a factory that says they do), make decisions quickly and stick to them, and test everything at every stage. Do these three things and you'll have a product you're proud of. Skip any of them and you'll have an expensive paperweight.
At MONTON Cloud, we've completed over 200 private mold projects for brands in the US, Germany, Japan, and across the Middle East. Our in-house team includes industrial designers, structural engineers, acoustic engineers, and mold makers. We have an acoustic lab with artificial ear testing equipment, a mold shop with CNC and EDM machines, and 8 production lines. Our typical private mold timeline is 60-75 days, and we've completed projects in as few as 45 days. If you're considering a private mold gaming headset, we'd be happy to walk you through the process.